How to Add Tags in Shopify
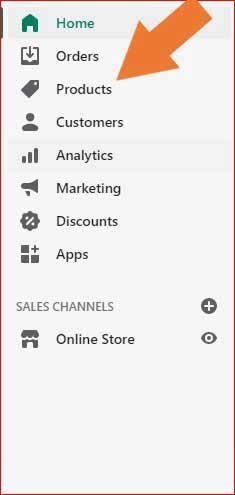
To add tags in Shopify, open your Shopify store’s admin panel. Click on Products, and then All products.

After clicking on All products, your products will appear in front of you. Select the product that you want to edit.

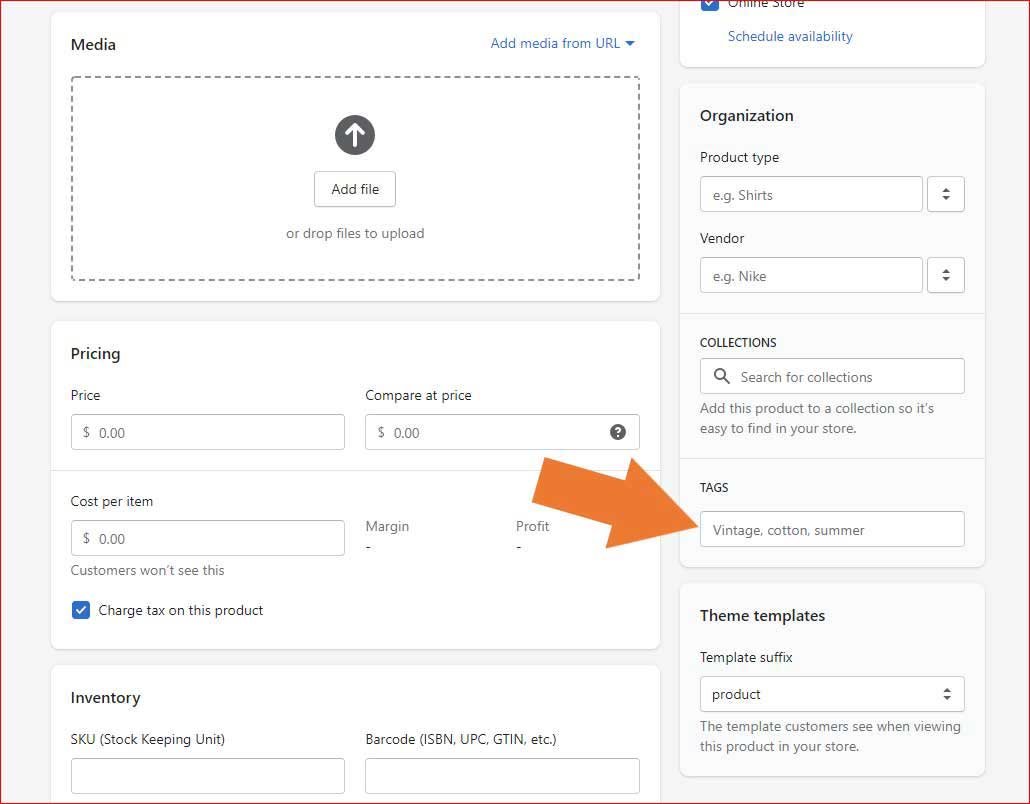
After selecting an individual product, all details of the product will appear. Now, scroll down the page, and you will find Tags section at the right side of your screen.. Here, you can add tags related to your product. After adding tags, make sure to save all the changes before leaving the page by clicking on Save button at the top right corner of your screen.


